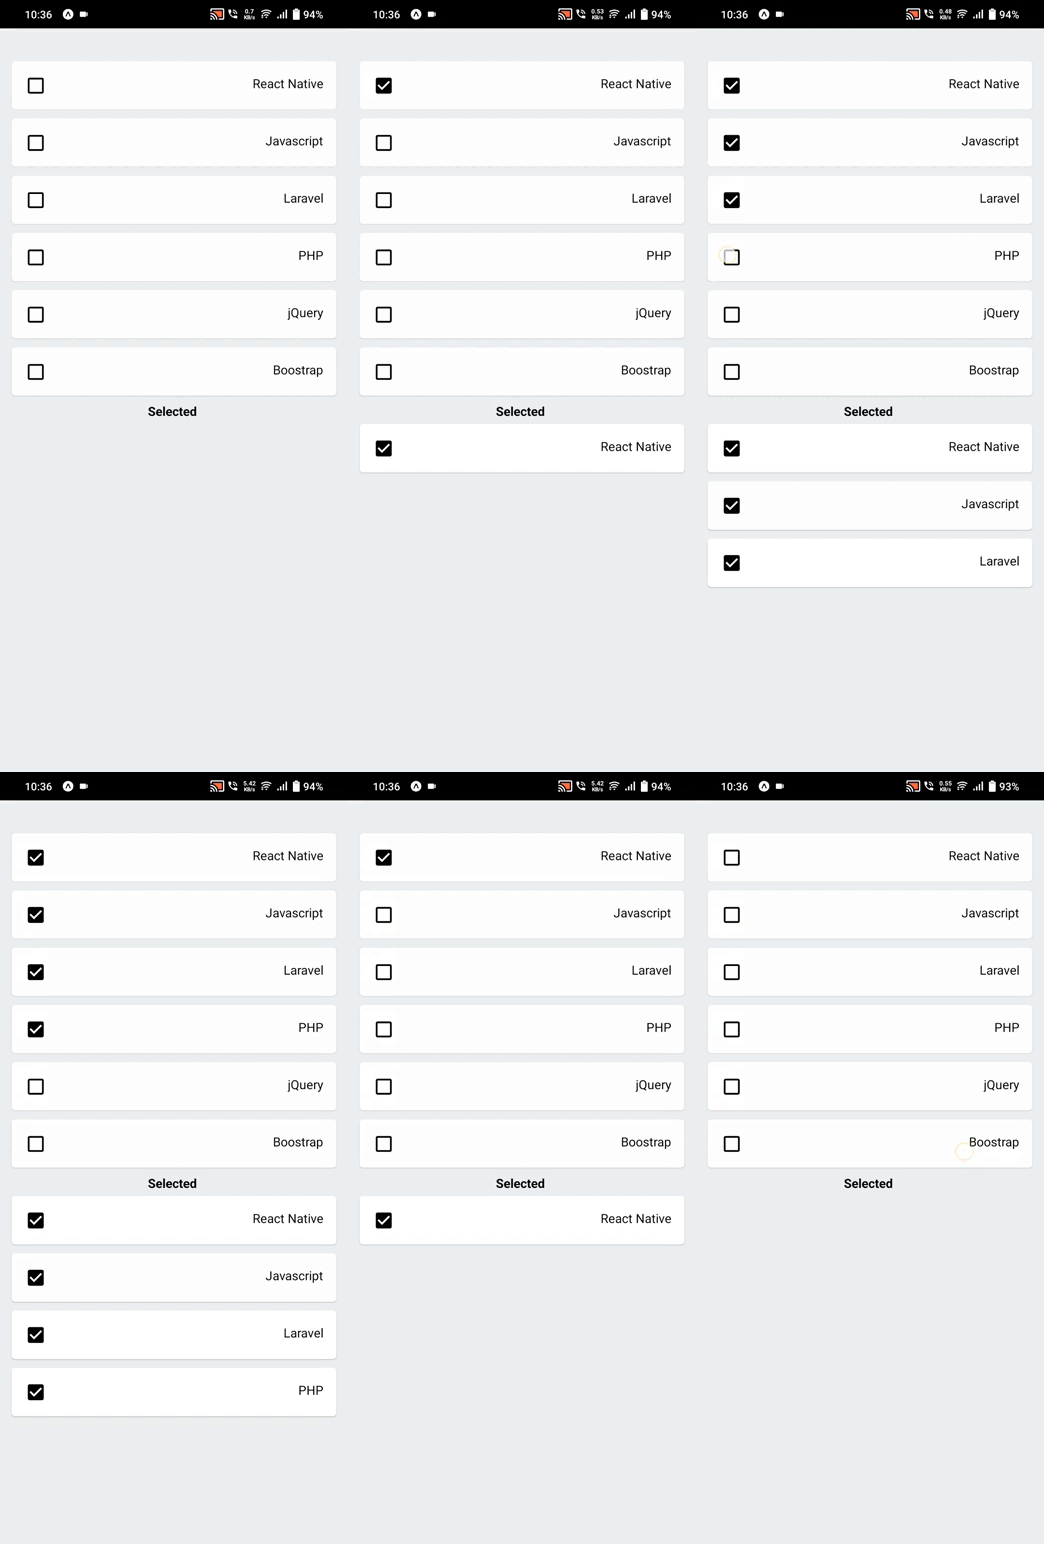
Di sini, saya akan menunjukkan cara membuat multiple select checkbox di react native. langkah demi langkah jelaskan react native beberapa contoh multiple select checkbox. Posting ini akan memberi Anda contoh sederhana tentang cara menerapkan multiple select checkbox di react native. Anda akan mempelajari multiple select checkbox di react native. Di sini, Membuat contoh dasar tentang cara menggunakan multiple select checkbox di react native.
Mari kita mulai contoh berikut:
Langkah 1: Download Project
Pada langkah pertama jalankan perintah berikut untuk membuat project.
expo init ExampleApp
Langkah 2: Install Expo Icons
Anda menginstal ikon vektor expo untuk membuat checkbox:
npm install @expo/vector-iconsimport ini:
import { MaterialCommunityIcons } from "@expo/vector-icons";Langkah 3: App.js
Pada langkah ini, Anda akan membuka file App.js dan memasukkan kodenya.
import React from 'react';
import { StyleSheet, Text, View, Pressable, StatusBar, FlatList } from 'react-native';
import { MaterialCommunityIcons } from "@expo/vector-icons";
import { Card } from 'react-native-paper';
import Constants from 'expo-constants';

const data = [
    { id: 1, txt: 'React Native', isChecked: false },
    { id: 2, txt: 'Javascript', isChecked: false },
    { id: 3, txt: 'Laravel', isChecked: false },
    { id: 4, txt: 'PHP', isChecked: false },
    { id: 5, txt: 'jQuery', isChecked: false },
    { id: 6, txt: 'Boostrap', isChecked: false },
    { id: 7, txt: 'HTML', isChecked: false },
];

const App = () => {
    const [products, setProducts] = React.useState(data);

    const handleChange = (id) => {
        let temp = products.map((product) => {
            if (id === product.id) {
                return { ...product, isChecked: !product.isChecked };
            }
            return product;
        });
        setProducts(temp);
    };

    let selected = products.filter((product) => product.isChecked);

    const renderFlatList = (renderData) => {
        return (
            <FlatList
                data={renderData}
                renderItem={({ item }) => (
                    <Card style={{ margin: 5 }}>
                        <View style={styles.card}>
                            <View
                                style={{
                                    flexDirection: 'row',
                                    flex: 1,
                                    justifyContent: 'space-between',
                                }}>
                                <Pressable onPress={() => handleChange(item.id)} >
                                    <MaterialCommunityIcons
                                        name={item.isChecked ? 'checkbox-marked' : 'checkbox-blank-outline'} size={24} color="#000" />
                                </Pressable>
                                <Text>{item.txt}</Text>
                            </View>
                        </View>
                    </Card>
                )}
            />
        );
    }

    return (
        <View style={styles.container}>
            <View style={{ flex: 1 }}>
                {renderFlatList(products)}
            </View>
            <Text style={styles.text}>Selected </Text>
            <View style={{ flex: 1 }}>
                {renderFlatList(selected)}
            </View>
            <StatusBar />
        </View>
    );
}

const styles = StyleSheet.create({
    container: {
        flex: 1,
        justifyContent: 'center',
        paddingTop: Constants.statusBarHeight,
        backgroundColor: '#ecf0f1',
        padding: 8,
    },
    card: {
        padding: 10,
        margin: 5,
        flexDirection: 'row',
        justifyContent: 'space-between',
    },
    modalView: {
        margin: 20,
        backgroundColor: 'white',
        borderRadius: 20,
        padding: 5,
        justifyContent: 'space-between',
        alignItems: 'center',
        elevation: 5,
    },
    text: {
        textAlign: 'center',
        fontWeight: 'bold',
    },
});

export default App;
Run Project
Pada langkah terakhir jalankan project Anda menggunakan perintah di bawah ini.
expo start
react native multiple select checkbox example